When Michael was first beginning to design this kiln he had many things to think about. How often do we want to fire? What size pots will we be making? What kind of surfaces are we looking for? … In designing the kiln and answering these questions, we had a tremendous amount of help from our friend Will Ruggles of Rock Creek Pottery who has a great amount of knowledge and experience with wood kiln design, construction and firing methodology. Michael figured out that with the big pots he was making, a 250-300 cubic foot kiln would be a good size to fire every three months. We also wanted a kiln that could be fired fairly quickly without large amounts of ash deposits because we make mostly glazed ware.
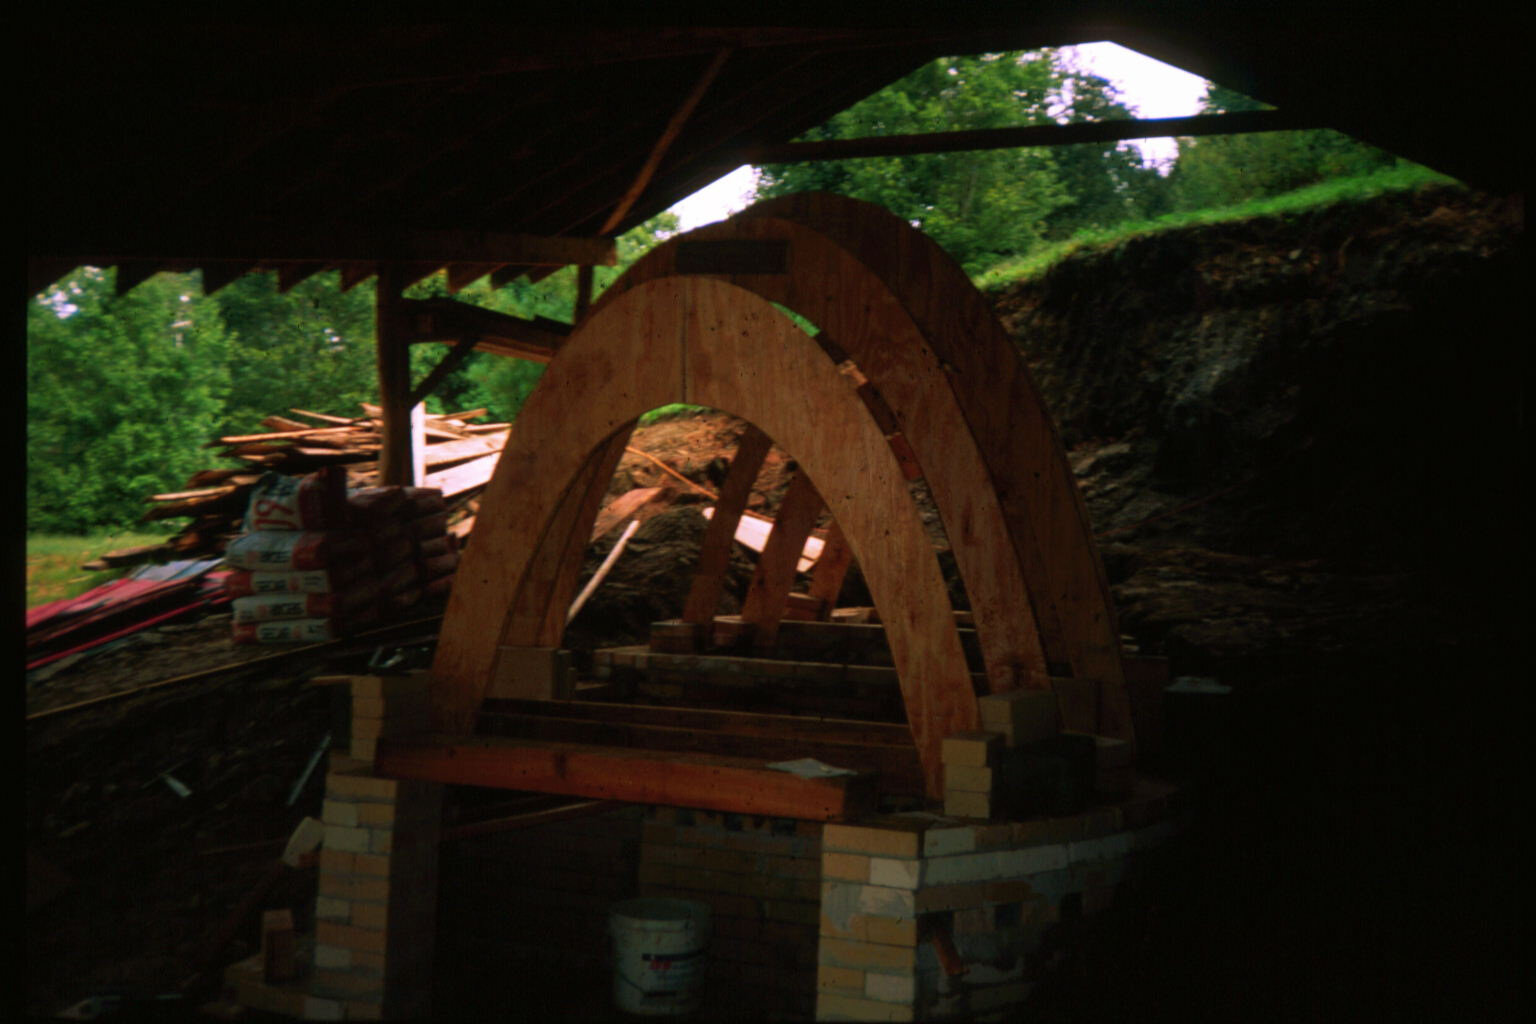
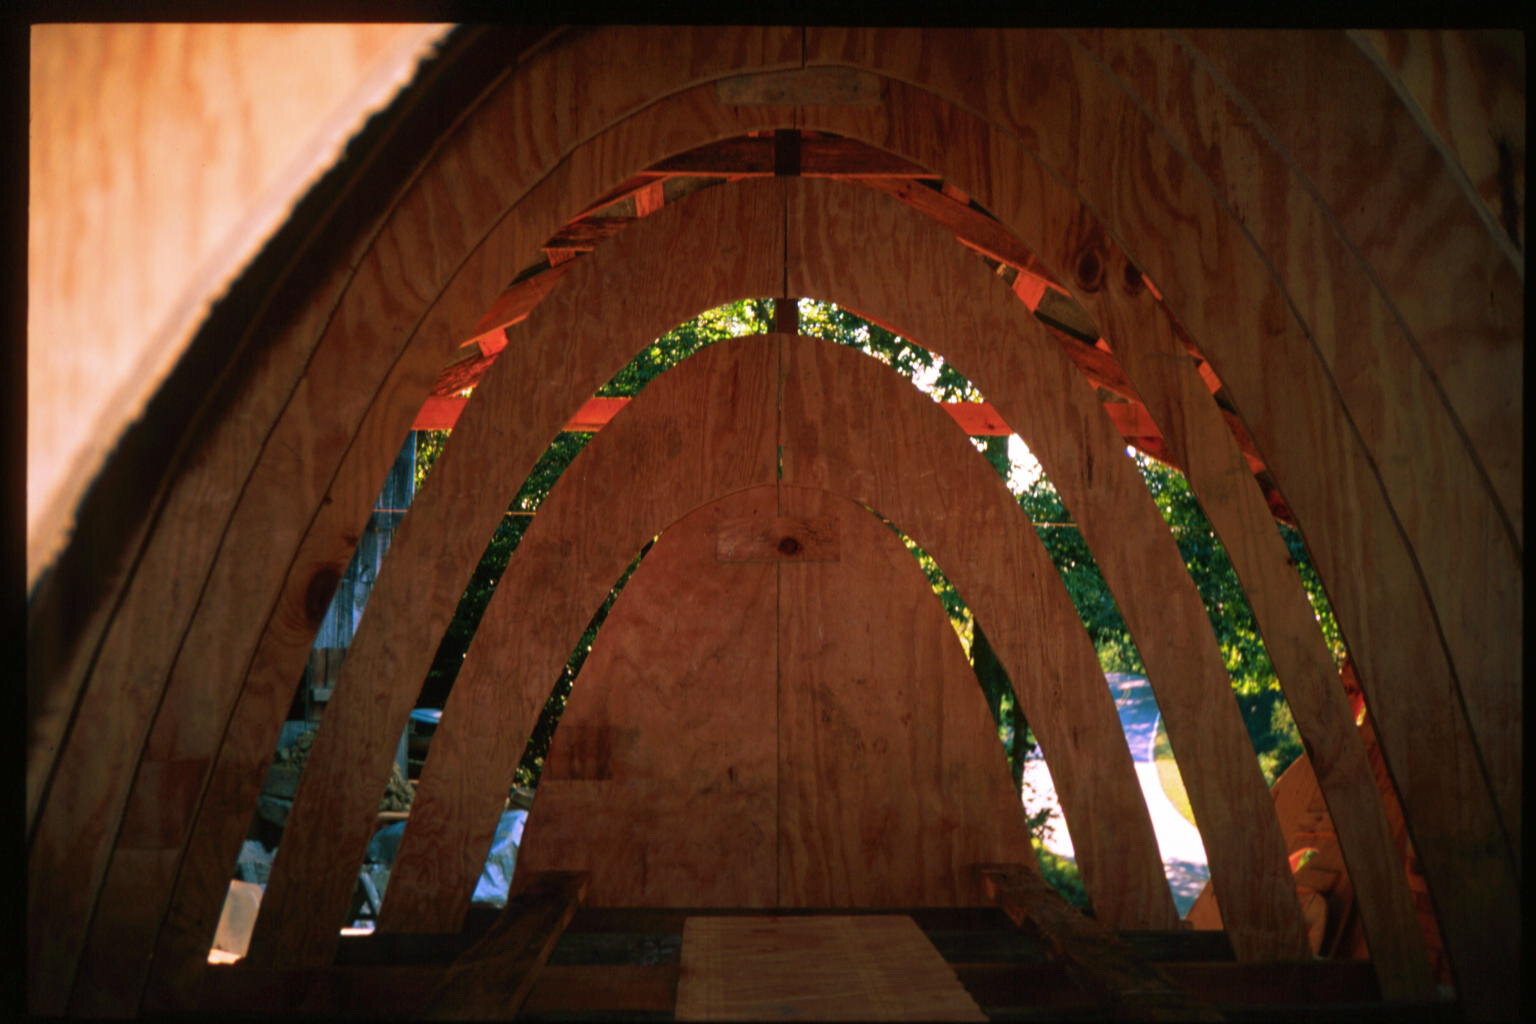
During a visit to Thailand in 1998 Michael was fascinated by the beautiful shape of Thai wood-fired kilns. This shape seemed like it could be adapted to fit the criteria we needed. The most interesting thing to us about the Thai shape is the way its form imitates a flame. After much thought and research we altered the shape and proportions to improve structure, working comfort, and to give more articulate firing control. In this new design, the kiln is widest at the firebox and narrows towards the chimney. This compresses the gases as they get further from the firebox while increasing their velocity, making the temperature in the kiln more even throughout, but especially from the front to back. The shape of the kiln also makes it comfortable to stand up in and load without the kiln being too big.
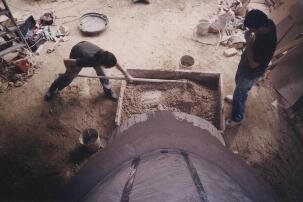
The kiln is made with caternary arches requiring only 4 1/2 inch thick walls. The walls are cast using a plastic castable mix most recently developed by Rob Barnard and Warren Frederick of http://www.artistpotters.com. The castable is particularly well suited to the complex round shape of this kiln and is a mix of fireclay, sawdust, kyanite, grog, and high alumina cement. After the castable is mixed it is packed onto the form by hand.
To make the kiln fire fairly quickly and have moderate quantities of ash we increased the efficiency of the traditional design by using a deeper firebox, adding grates, and increasing the size of the flues and chimney. The firebox also has a flame-dividing partition to spread the flame to the sides of the kiln which prevents overheating the center. The grate area and flue ratios were calculated based on wood kiln formulas that Will Ruggles has developed over the years. In designing the kiln we were curious to see how these proportions would work in a larger kiln with a different shape.
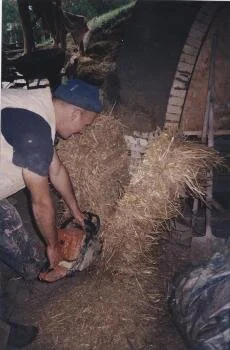
After four months and a whole lot of help from many friends, the kiln was finished and fired on Dec.5, 2003. The first firing was 16 hours long and the kiln was very even. The temperature range in the kiln (Cone 10 down in the front and 9 at a half in the back) is a good one for our glazes and we were able to get these temperatures with very little side stoking.